The APN Guide: Photographing Wild Animals

24 min read

Deviation Actions

Amarantheans's avatar
By
Published:
1K Views
AnimalsPlantsNature
Your Home for APN Photography


When thinking of going out to photograph wild animals, many of us are not able to just go out in our back yard to do so. This is one of many compromises that we who choose city dwelling must make. However, there are still opportunities for us to dive into this category of APN photography and these opportunities lie within the confines of zoos and animal sanctuaries.


Now if you want to find out what some of the "forces of evil in zoo photography" may be, go check out Mouselemur article here: APN Guide: What it takes to be a Zoo Photographer

Here are a few tips and tricks to use when going to your local zoo

First thing you need to do, is get to know your local zoo.


Bullet By Uszatyarbuz-d9r7hke-2 by Amarantheans  You may or may not even want to bring your equipment with you on this first trip to your zoo. Your goal is to find special nooks and crannies that will make your life easier when you are actually there to take photos of zoo animals. Take a map of the zoo and get a good idea of where all of the animal habitats are. Once you choose the animal you would like to photograph go to the enclosure and walk all the way around it. There may be areas that the majority of the zoo patrons are not even aware of, making it less crowded and awkward to set up your equipment. Mark that area on your map for future visits, and do this for all of the enclosures that interest you, indoors and out.

Bullet By Uszatyarbuz-d9r7hke-2 by Amarantheans Also remember to check and see if the zoo offers a schedule of feeding times, as they may be more active just before or after feeding. Sometimes they also have to remove animals from their enclosures for medical or other purposes as well, this can also hinder an otherwise perfect shooting day. Get to know your local zoo staff, sometimes, if you are nice they may offer some advice on where the best shooting spots are.


When looking at your enclosure you may find that the glass tends to limit what you are able to do, your number one enemy here is: Glare!


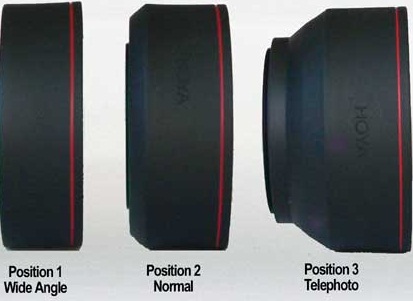
Bullet By Uszatyarbuz-d9r7hke-2 by Amarantheans  Your battle against glare is a constant one and you can find equipment to help. Sometimes a lens hood will help. There are two main types of lens hoods tulip and tube. There are also combinations of the two. The Tulip lens hood is better for wide angle shots and the Tube lens hood is best when used with a telephoto lens. For proper application of these devices to your camera you can find more information here.

tulip lens hood

Bullet By Uszatyarbuz-d9r7hke-2 by Amarantheans  I also have a rubber lens hood that can be shaped to help block the glare and fit snugly against the glass of an enclosure, thus helping to block the ambient light.

tube lens hood

Bullet By Uszatyarbuz-d9r7hke-2 by Amarantheans  You can also make your own, all you need is a paper template and a black piece of thin foam or cardboard.

Bullet By Uszatyarbuz-d9r7hke-2 by Amarantheans   A little more advice on glare, when you go out where you know there will be glass enclosures, be sure to wear dark clothing, as it can aid you in your battle against glare. Sometimes you can use your own body to block the glare on the glass from other zoo patrons. You can also take a small black umbrella with you to block out the bright colors of the crowd behind you. Just be aware you may attract some unwanted glares from fellow zoo goers, if your umbrella is to large. So the  smaller the better when it comes to umbrellas.


Oh no, not a fence!


Bullet By Uszatyarbuz-d9r7hke-2 by Amarantheans  Fencing can also pose a problem, the key here is to keep your aperture high and get as close to the fence as possible, sometimes doing this you don't even notice there is a fence in the finished shot.

(For reference: you can see in the first photo below that there is a large gage fence enclosure in the background of this photo however there are no bars in front of the bird. This was achieved with the above advice. The other two photos are of the same falcon enclosure (different falcon) and an owl from a more recent shoot of mine, they were shot through the same fencing as the first falcon photo.)

Anyone can take a picture of an animal in an enclosure, but what you want to do is take the picture that highlights their beauty. The key here is patience.

Bullet By Uszatyarbuz-d9r7hke-2 by Amarantheans  So, you found the perfect place, now you need to wait. Yeah, you heard me, you have to take your time (one thing my daughter will not allow me to have when she accompanies me to the zoo). Just so you know it is probably best to take these trips without the distraction of family or little ones. 

Bullet By Uszatyarbuz-d9r7hke-2 by Amarantheans  You will most likely need to use a tripod so that your photo is not blurred due to shaky hands. So make sure where ever you choose to shoot from has enough room for your set up, without getting in the way of other onlookers. You may also want to go to the zoo on a weekday in the off season (i.e. not summer) so there are less people, but more importantly less children.

Bullet By Uszatyarbuz-d9r7hke-2 by Amarantheans  You will also most likely have to use a distance lens, as it is not often that an animal will approach the glass for a photo shoot. (Thus, another reason that a tripod is necessary.) When dealing with a telephoto lens we all get started with the same one: the basic 70-300mm f/4-5.6. This is not a bad lens and is great if you don't have a lot of money to spend. Here is an article that goes over many of the telephoto lenses offered by Nikon and the differences between them. Just be sure to note the prices can get away from you, to well over $10,000.00.


What is a monopod?

Bullet By Uszatyarbuz-d9r7hke-2 by Amarantheans   Everywhere in this article where I wrote Tripod you can substitute the word Monopod. A monopod is basically an expandable stick that helps you balance your camera and avoid the shaky hand, blurry shots. I actually just saw my first one in a store about a week ago... and I WANT IT! Now we will go over a few pros and cons of Tripod vs Monopod!

Bullet By Uszatyarbuz-d9r7hke-2 by Amarantheans  Tripods are sturdy, and capable of holding your camera without your assistance which makes for beautiful shots with long exposure photography. They also help you keep your camera focused on a central subject without much effort, for the days that the animals are being boring, then suddenly leap into action. However, they are bulky, and get in the way in a crowded environment like a zoo. They are also great for studio shots, macro photography, and a must in time-lapse photography.

Bullet By Uszatyarbuz-d9r7hke-2 by Amarantheans   Monopods help when you don't want your shaky hands to blur a shot. They have a quick setup and are much less bulky when carried. When in a crowd they are ideal due to the much smaller foot print. They are also better if you come upon a habitat where the animals are being quite active, as you can easily follow them while having the support you need to hold the weight of your camera. I know a lot of times when using my tripod, I never extend the legs out and use it as a prop on a fence or other solid object to get a quick shot of a moving target, a monopod would make this practice much easier.  However, a monopod will never be able to replace a tripod, even if they have the tiny "tripod" like adaptor for the base of them. They lack the ability to hold your camera in one position for those long exposure shots.

Here is another pro vs con list with pictures you can look at.


Try to find a way to stand out from the sea of cameras and grab an animals attention!

Bullet By Uszatyarbuz-d9r7hke-2 by Amarantheans  I have heard some suggest that you should take a toy that makes noises to grab the attention of an animal, but in my opinion this should never be done, as the toy could fall into an enclosure and become a choking hazard to the animal. 

Bullet By Uszatyarbuz-d9r7hke-2 by Amarantheans  I have found an alternative. They sell "Shutter Huggers" which are basically a stuffed animal you attach to your lens with elastic, like a hair scrunchy.  These are a trademarked item and well I think that you could try and make one yourself for cheaper.

There are Crochet Lens Buddy Patterns out there, or you can just glue one together using felt and a hair scrunchy.  Just be sure when you are making them to make them colorful and interesting, they don't even have to be animals, they can be flowers, or anything you can think of. (Note: These are marketed for taking photos of children but animals will usually be attracted to them as well.)

 lens flowerII


Finally, I would like to discuss composition.

Bullet By Uszatyarbuz-d9r7hke-2 by Amarantheans  This is the most often overlooked when trying to be quick and take photos of animals on the fly, as you find yourself rushing past enclosures. This is why I insist if you want to improve on your craft, you need to take your time. 

Bullet By Uszatyarbuz-d9r7hke-2 by Amarantheans  When composing a shot of an animal you want to attempt (if possible) to get on their level. By this I mean rather than shooting from a standing position you may try and squat so that you are looking at them like they look at you. Try and get their eyes in the shot, rather than just a side view shot of the animal. This will give the viewer more of a connection with the animal, making that shot more spectacular.

Bullet By Uszatyarbuz-d9r7hke-2 by Amarantheans  Sometimes as you are just observing the animals they may start to do something cute, so be sure your camera is set up to take the shot as soon as the action starts. For example a lion cub may decide to get up and pounce on one of it's siblings, or someone may decide it is time for an adorable yawn. Be prepared for these shots, however they will not always present themselves. (Note: some trips to the zoo you may only come out with a couple "good" shots, but don't let this discourage you. Keep at it an maybe one day you will get the shot of a lifetime!)


Feature time! 


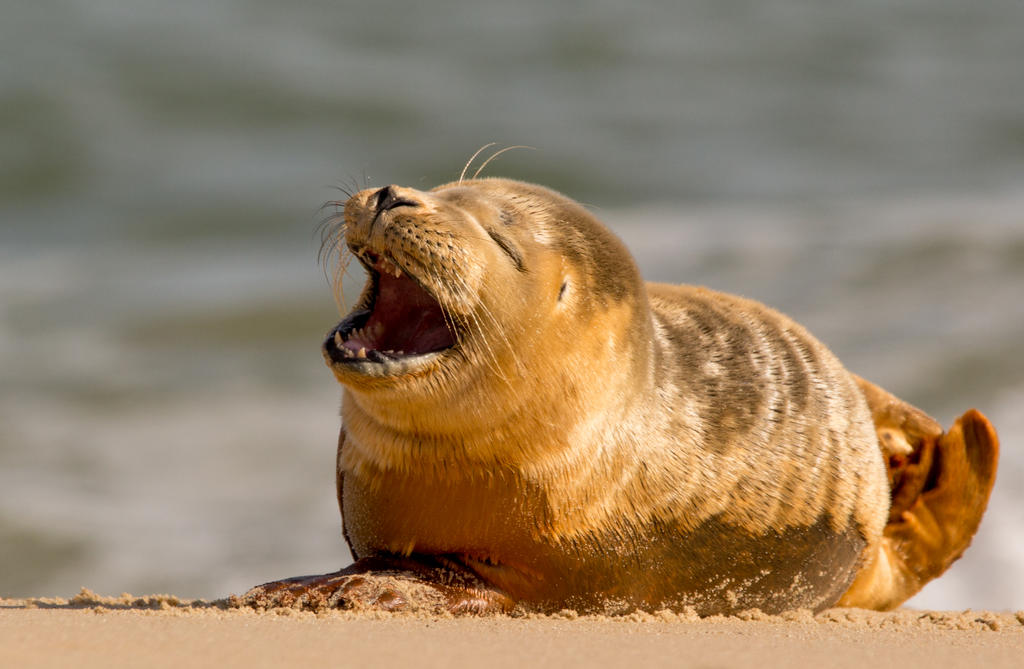
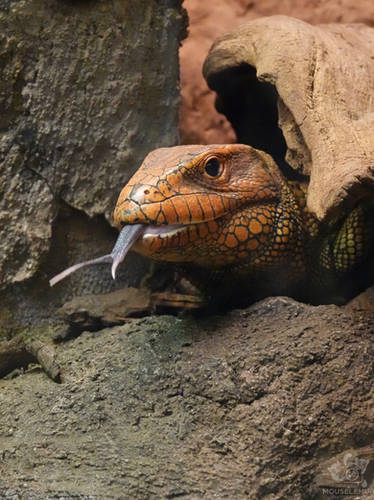
Oh boy, that is so funny by pell21   I Turn To You by Mouselemur Cheetah Cub Greeting by Jack-13Kuscheln  by RetoLynx Portrait by LinnettBirdLION by IME-Photography The kiss of the Fall by woxys  One Leaf At A Time by LinnettBird   Om nom nom by Allerlei
   
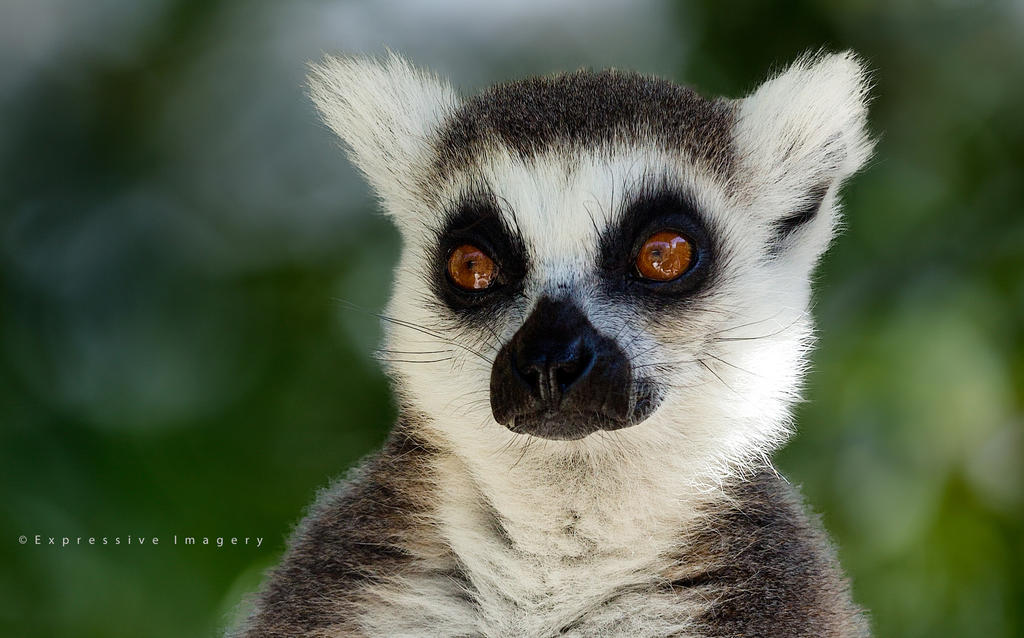
Such a cutie! by ExpressiveImagery Very Sad Baby Monkey by Jack-13   Bear by Delragonkiiisss meee by kzurro


Here are some other tutorials that may help you, available on DA:

Zoo Photography Tutorial - Getting Started by OrangeRoom Zoo Photography Tut - Taking photos through fences by OrangeRoom Tutorial: Wildlife Editing by DeniseSoden

Want to look through some off site tips and tricks that I found?

Bullet By Uszatyarbuz-d9r7hke-2 by Amarantheans  
Zoo Photography Tips 

Bullet By Uszatyarbuz-d9r7hke-2 by Amarantheans  Seven Tips for Photographing at the Zoo

Bullet By Uszatyarbuz-d9r7hke-2 by Amarantheans  Improving your Photography


Remember: When it comes to photography there is always room to grow, and we all start off as a beginner. No one is born with a camera in hand, there are resources everywhere, you just have to look. Oh and the two most important rules #1. Patience and #2. Have Fun!


Bullet By Uszatyarbuz-d9r7hke-2 by Amarantheans
:iconanimalsplantsnature:


Journal skin by UszatyArbuz
Photo by The-Panic
© 2017 - 2024 Amarantheans
Comments33
Join the community to add your comment. Already a deviant? Log In
moonwuff's avatar
Pretty cool article and very interesting topics! :D Thank you so much for the work. :)